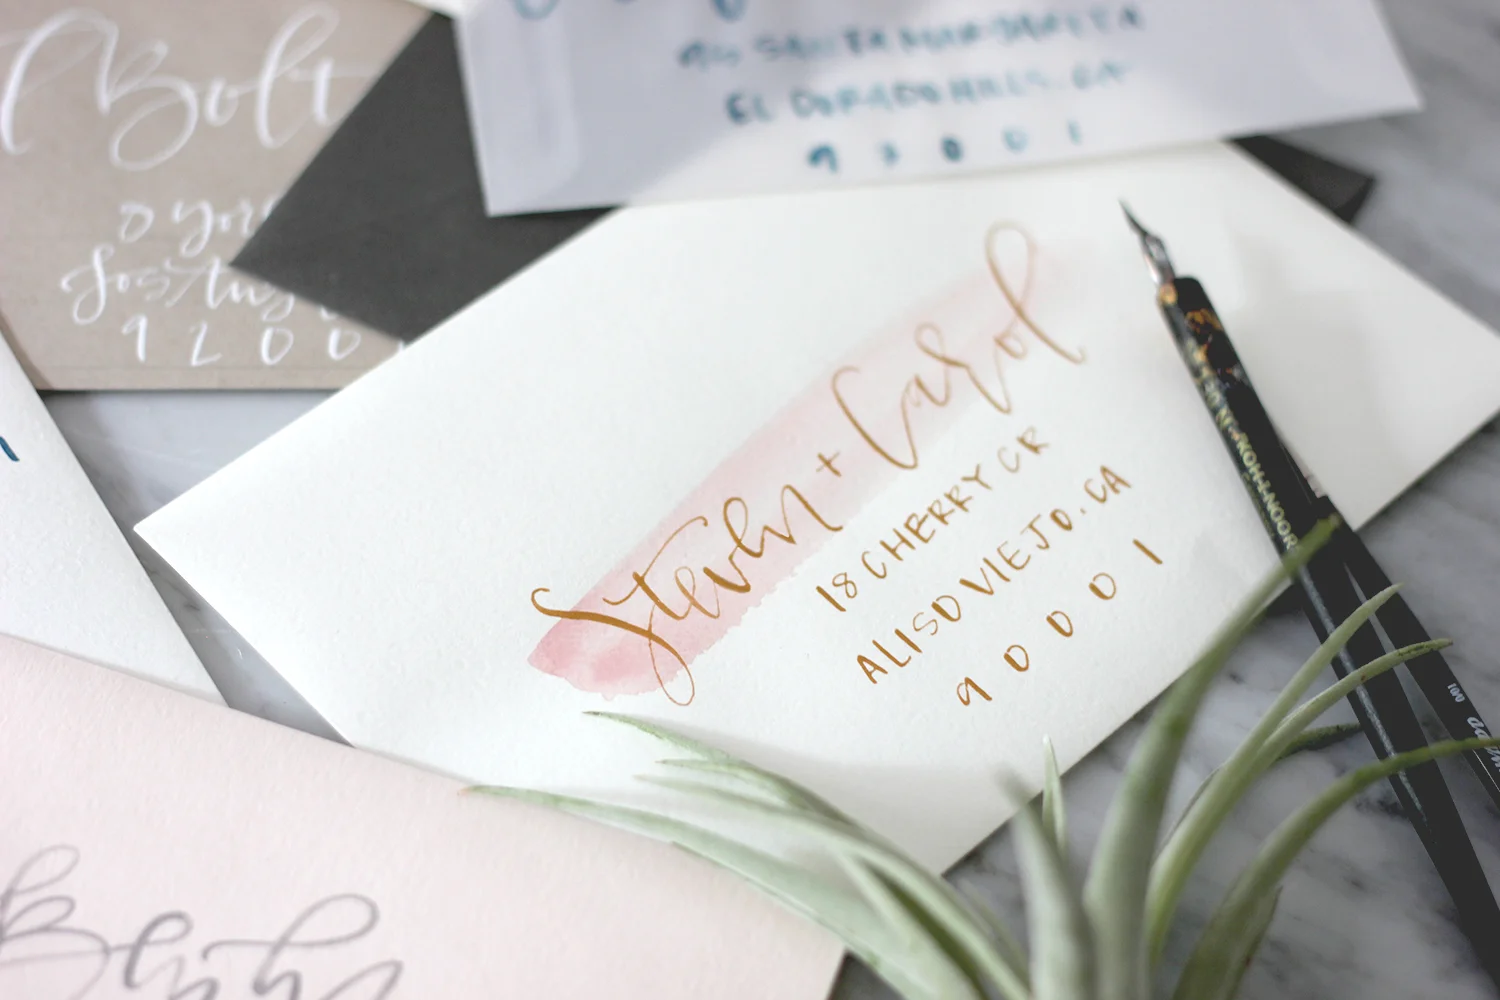
Enhance Your Mail with Hand Addressed Envelopes: A Step-by-Step Guide
Hand-addressed envelopes add a personal touch to your mail that can make recipients feel special. Whether you are sending out invitations, thank you cards, or just a friendly note, hand addressing the envelopes can make a big difference. In this step-by-step guide, we will walk you through the process of creating beautifully hand-addressed envelopes.
Materials Needed
List of materials:
- Envelopes
- Quality pens or markers
- Ruler (optional)
- Eraser
- Stamps (optional)
Step 1: Prepare Your Materials
Before you begin addressing the envelopes, make sure you have all the necessary materials within reach. Lay out the envelopes, pens, ruler, eraser, and any stamps you may need.
Step 2: Choose a Calligraphy Style
Decide on the style of calligraphy you want to use for the addresses. You can choose from traditional script, modern calligraphy, or your own unique style. Practice writing the addresses on a separate piece of paper before starting on the envelopes.
Step 3: Write the Recipient's Address
Using a quality pen or marker, carefully write the recipient's address on the front of the envelope. Make sure to keep the lines straight and the letters evenly spaced for a professional look. If you prefer, you can use a ruler to help guide your writing.
Step 4: Add the Sender's Return Address
Next, write your own return address on the back flap of the envelope. This is important in case the mail is undeliverable and needs to be returned to you. Make sure the return address is clear and legible.
Step 5: Decorate (Optional)
If you want to add an extra touch to your hand-addressed envelopes, consider adding decorative elements such as a border, a small drawing, or a sticker. Just make sure not to overcrowd the envelope and distract from the address.
Step 6: Check for Errors
Before sealing the envelopes, carefully review the addresses for any errors or misspellings. Using an eraser, correct any mistakes to ensure the envelopes look clean and professional.
Step 7: Add Stamps and Seal
Place the appropriate postage stamps on the envelopes and seal them shut. Make sure the stamps are securely attached and that the envelopes are properly sealed to prevent any damage during transit.
Tips for Hand Addressing Envelopes
Here are some additional tips to help you create beautifully hand-addressed envelopes:
- Practice makes perfect: Take your time and practice your calligraphy before addressing the envelopes.
- Use high-quality materials: Invest in good quality pens and markers to ensure your addresses look polished.
- Stay consistent: Try to maintain a consistent style and size throughout all the addresses for a cohesive look.
- Consider using a calligraphy guide: If you're new to calligraphy, a guide can help you evenly space your letters and maintain a consistent slant.
- Have fun with it: Hand addressing envelopes can be a creative and enjoyable process, so don't be afraid to experiment with different styles and designs.
Conclusion
Hand addressing envelopes is a simple yet effective way to add a personal touch to your mail. By following this step-by-step guide and incorporating some creative flair, you can create beautifully hand-addressed envelopes that are sure to impress recipients. So next time you're sending out mail, consider taking the extra time to hand address the envelopes for a special and memorable touch.
